How to Throw on a Pottery Wheel — A Beginner's Step-by-Step Guide (UK Edition)
Throwing on a pottery wheel is deceptively simple to understand and genuinely difficult to master. Your hands will feel clumsy. Your clay will wobble. Bowls will collapse. This is completely normal — every potter has been there. But once you've centred clay successfully even once, you'll understand why people become obsessed with the wheel.
This guide walks you through the fundamental stages of hand-building on a pottery wheel, from that crucial first moment of centring through to finishing your piece.
Get the fundamentals right first
Before you start throwing, you need clay that's properly wedged. Wedging removes air pockets and aligns clay particles so the clay feels uniform. Without it, trapped air will explode during firing (sometimes spectacularly). Spend two or three minutes folding and pushing your clay firmly — it should feel smooth and dense, not sticky or crumbly.
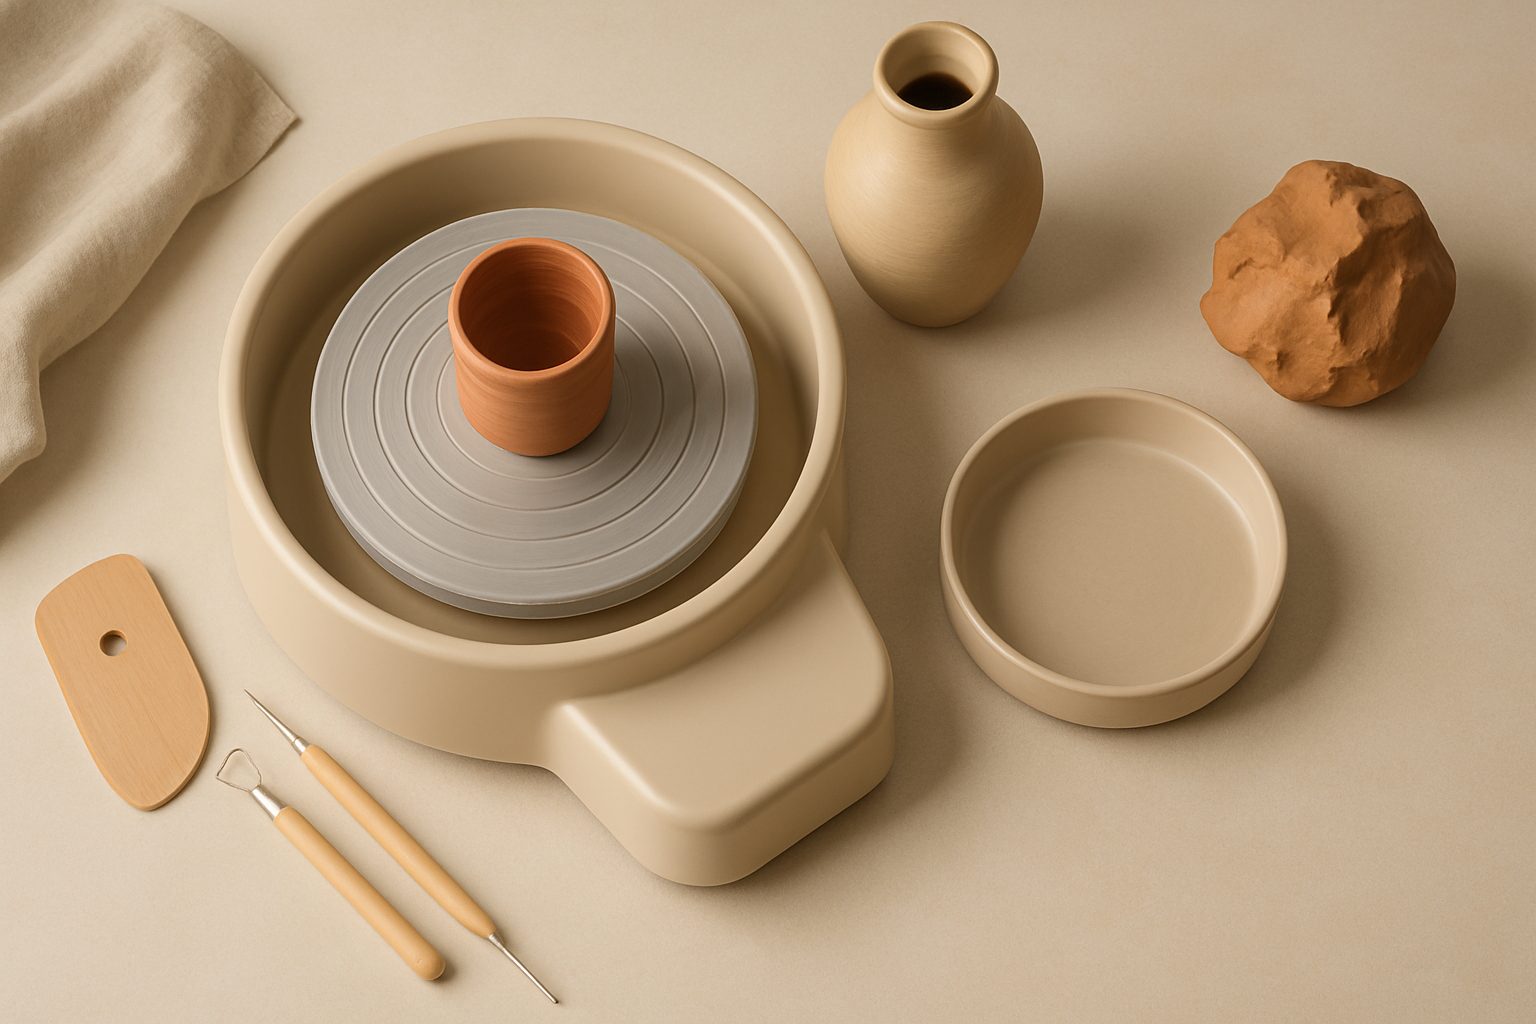
You'll also need a bat — the removable disc that sits on your wheel head. Most beginner wheels, like the Shimpo Aspirations series (common in UK pottery studios and schools), come with bats included. Using bats lets you remove your piece without disturbing it, which is essential when you're learning.
Safety matters. Tie back long hair. Remove jewellery and loose sleeves. Keep your hands bone-dry or soaking wet — damp hands will stick to the clay and pull your fingers in. Always run the wheel slowly when you're starting out.
Centring: the gatekeeping skill
Centring is where most beginners get stuck. You're placing clay spinning at 60–80 rpm and using steady hand pressure to make it perfectly symmetrical. Get this wrong, and everything upstream falls apart.
Secure your clay firmly to the bat — throw it gently and press down as the wheel spins slowly. Your bat should be locked down by friction alone. Once the wheel is running at moderate speed, place your hands on either side of the clay cone. Apply gentle, steady inward pressure. You'll feel the clay wobble. Don't fight it aggressively; instead, apply consistent pressure and let the wheel do the work.
You'll feel the moment it centres — the wobble vanishes and the clay becomes perfectly still under your hands. The first time this happens, you'll understand the appeal. Stop immediately and admire your work.
Common mistake: working too fast or pressing too hard. A gentle, patient hand is better than a forceful one.
Opening: making the well
Once centred, you need to open a well up the middle. Wet your hands slightly — not dripping wet — and place your fingers inside the clay with the wheel running at medium speed. Your thumbs should brace against the outside wall.
Gently push your fingers towards the centre of the clay, but not all the way to the bottom. You want about 1 cm of clay beneath your fingers; this becomes the base of your pot. As you open, your thumbs will naturally create the outer wall. Move upward gradually, widening as you go.
This is where many beginners panic: the hole feels precarious. It is, slightly, but clay is more forgiving than you think. If you move slowly and keep both hands symmetrical, you'll be fine.
Pulling the walls: where shape happens
Now you're essentially drawing the walls upward. This is the most satisfying part for many throwers.
Keep the wheel running at medium speed. Brace one hand inside and one outside, fingers aligned. Gently pull upward, letting the clay thin as it rises. Your inside hand should do about 70% of the work; your outside hand steadies. Move slowly enough that you can feel the clay responding.
Wall thickness matters. Too thick and your pot will be heavy and unbalanced. Too thin and the walls will collapse. Aim for roughly 5–8 mm as you're learning. You'll develop a feel for this quickly.
You might need several passes. Each time, pull a bit higher and let the walls thin slightly. The shape emerges gradually. Stop while the clay still feels solid — don't pull too far.
For beginners starting out: wheels like the Pottery Cool Studio or entry-level Shimpo models offer good control at slower speeds, which is exactly what you need when learning this stage.
Trimming and finishing
Once you've thrown your shape, let it firm up slightly (leather-hard, not bone-dry). Then trim the base. Flip the pot upside down and secure it with clay lugs on the wheel head. Trim away the thick clay underneath using a wooden or metal trimming tool, creating a neat foot ring.
Trimming is where your pot actually looks finished. Don't skip it or rush it. A sloppy base undermines the whole piece.
A note on progression
Beginner wheels are genuinely different from pro wheels. Budget wheels (roughly £300–600) spin smoothly enough to learn centring and basic shapes. As you improve, you might want more torque or variable speed control — wheels like the Rohde Pottery wheel offer better power for larger forms.
But honestly, don't buy expensive equipment yet. Practice on whatever wheel is available in your local pottery studio or community education centre. You'll learn far more from consistent practice on a modest wheel than from expensive gear.
The curve is steep, then rewarding
Throw 20 times before you expect a decent pot. Throw 100 times before you feel confident. After 500 throws, you'll be genuinely competent. This isn't a daunting timeline — it's roughly a term of weekly classes.
The learning curve is steep because centring and wall pressure require muscle memory that only practice builds. But that's also why pottery is so satisfying: your hands improve visibly, week to week.
Your first successful bowl will feel like a small miracle. Your tenth will feel like a basic skill. By your fiftieth, you'll be troubleshooting wall thickness and trying intentional shapes. That progression is the real appeal of wheel work.
More options
- Shimpo Aspire Pottery Wheel (Amazon UK)
- Speedball Artista Pottery Wheel & Starter Kit (Amazon UK)
- Vevor Electric Pottery Wheel (Budget Range) (Amazon UK)
- Pottery Tool & Accessory Sets (Amazon UK)
- Air-Dry & Stoneware Pottery Clay (Beginner Packs) (Amazon UK)